In this tutorial I will teach you how to write modular app using laravel framework. In order to get started with the turorial I assume that you have laravel 8 installed on your local machine.
If you do not have laravel 8 installed on your local machine please follow my tutorial on laravel 8 installation.
Why we need modular app?
If you are working on bigger or medium level laravel project you always work on different features. To organize your code in a feature or module based approach where you can bundle your feature or module with their own logic example:
- controllers
- models
- migrations
- translations
- views
- tests
- and other folders you might need
Organizing your code into smallar modules makes your life easier. You know exactly where your features/modules are and you also know where their controllers, models, views, configuration, routes etc. are placed.
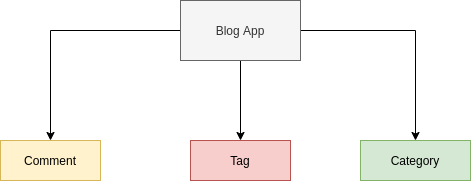
Let's look at modular structure for sample blog app:

Let say that your blog app grows and you wanted to add more modules like:
- Payment
- User
- UserGroup etc..
Wouldn't it is easier to organize them into smaller chunk than placing all code at one place and create mess later when app grows. If you are thinking long you would possibly want to organize your code for better:
- readability
- access
- bundle functionality and related tests
Installing Laravel 8 Modular App Plugin
Now, we would install one of the plugin I created in order to manage our modular app. Open your terminal window and go to your laravel 8 project root directory and run following command:
# if you are using sail use following code
./vendor/bin/sail artisan composer require learn2torials/modular-laravel
# if you are not using sail use following command
composer require learn2torials/modular-laravelOnce package is installed you can try creating your first module using following command:
# make sure module name is in lowercase and _ seperated if it has
# words in it for example user_group
# if you are using sail
./vendor/bin/sail artisan make:module comment
# if you are not using sail
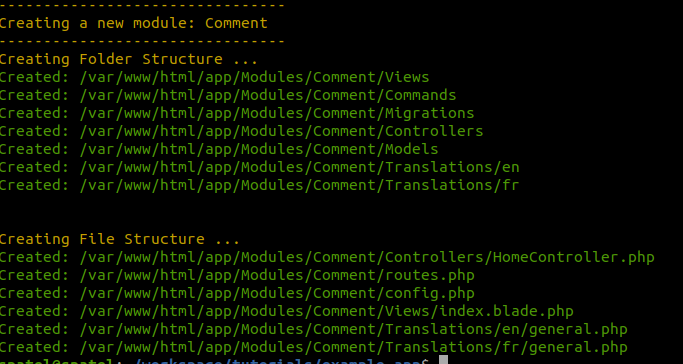
php artisan make:module commentOnce above command run successfully you will see following output:

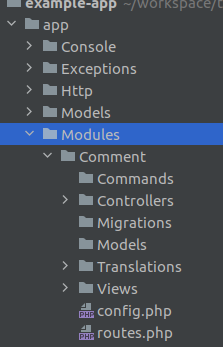
Once you see the output you can now go to app/Modules directory and you will see your newly created module as seen below:

Configuring Laravel 8 Modular Plugin
Now, that we have created a new module we would tell our Laravel app to load this new module. Create a new file under config directory called modular.php and paste following contents:
<?php
/*
|--------------------------------------------------------------------------
| Configuration File
|--------------------------------------------------------------------------
|
| You can overwrite default configuration here according to your app requirements.
|
*/
return [
"i18n" => false,
"https" => false,
"modules" => [
"comment" => true // must follow lowercase and underscore if separated by words
]
];
Notice that we have added our new module name into modules array now save the file. We would also make one other small change open your comment module config file located at app/Modules/Comment/config.php:
Let's add a route prefix comment so that all routes within this module will start with comment.
<?php
/*
|--------------------------------------------------------------------------
| Comment Module Configurations
|--------------------------------------------------------------------------
|
| Here you can add configurations that relates to your [Comment] module
| Only make sure not to add any other configs that do not relate to this
| Comment Module ...
|
*/
return [
'seeder' => [], // Define your module seeders here
'providers' => [], // Add custom providers for your module here
'middleware' => [], // Define middleware with key => value pair
'name' => 'Comment', // Define name of the module
'prefix' => 'comment', // Route prefix that you want to apply globally for all routes within this module
'route_middleware' => [], // Define route related middlewares here
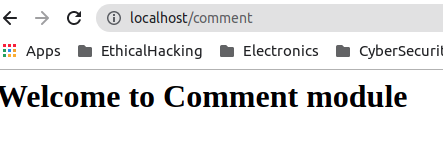
];Now, that you have added a route prefix you can go to your web browser and hit http://localhost/comment you will see following output.

Hope this helps those seeking to create modular app. If you have any good advise on what to add or improve in this plugin please send me a message via contact form and I will address your concerns.