MySQL is an open source relational database management system. It is used to store some data in databases. Database contains tables and table contains rows and columns to hold the data.
Installing MySQL on Ubuntu
Update local repositories first. Open your linux terminal window and run following command:
sudo apt-get update
Now, run following command to install latest mysql version:
sudo apt-get install mysql-server
Verify if installation went successful by checking installed version of mysql:
mysql --version
When you install mysql on your production server it is a good idea to secure your mysql by performing some additional steps as show below:
- removing test users
- removing test databases
- disallowing remote root user login
To secure your server run following command on your terminal window:
sudo mysql_secure_installation
Running above steps will ask following questions:
-
VALIDATE PASSWORD PLUGIN
- Say Yes if you want to inforce password security
-
Remove anonymous users?
- Yes
-
Disallow root login remotely?
- Yes
-
Remove test database and access to it?
- Yes
It's all configured now. Let's login to mysql server:
sudo mysql
You will see following output of the above command:
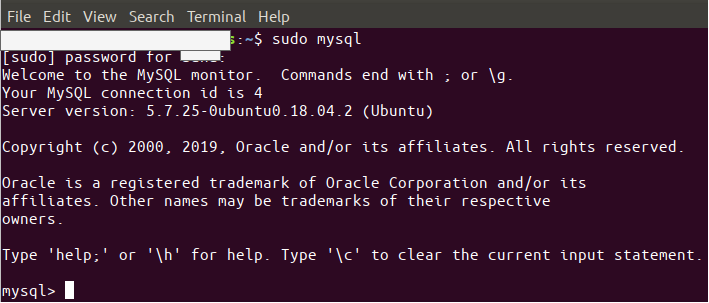
Now, you are in shell mode
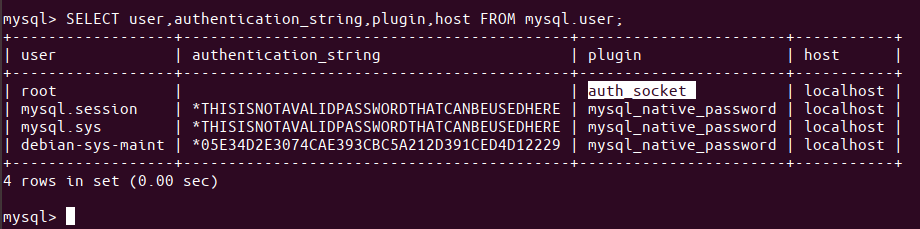
In the MySQL prompt, enter the following command that lets you check the authentication method/plugin that all your MySQL accounts are currently using:
mysql> SELECT user,authentication_string,plugin,host FROM mysql.user;
Above command will show something like this:
Let's now change the authentication method for our root user. Our goal is to allow root user to login with password. Make sure to change the password according to your requirements:
Run following command to change the password for root user along with authentication method:
mysql> ALTER USER 'root'@'localhost' IDENTIFIED WITH mysql_native_password BY 'password';
To apply your change run following command:
mysql> FLUSH PRIVILEGES;
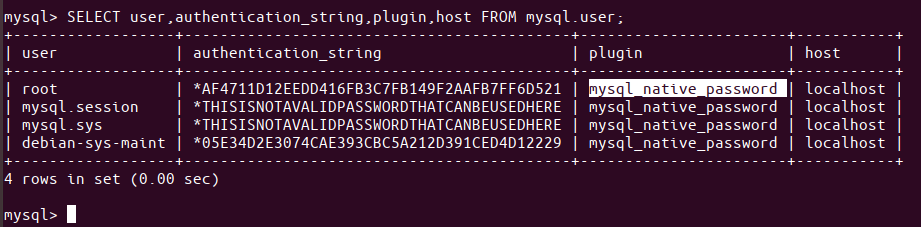
Let's check one more time to make sure changes are affected:
mysql> SELECT user,authentication_string,plugin,host FROM mysql.user;
You will see following output:
Now, that our root user is all set exit the shell mode:
mysql> exit
Followings are some of the command you will need in order to start/stop or check the status of mysql server:
# start the mysql server
sudo systemctl start mysql

# stop the mysql server
sudo systemctl stop mysql

# check the status of running mysql
systemctl status mysql.service
That's all now we are good to go. I hope you like this tutorial. Please comment share and leave likes.