In this tutorial we will learn how to setup google oauth screen in developer console step by step. In order to setup OAuth application first go to link provided below for google developer console:
Step-1: Navigate to APIs & Services tab in google cloud
First step is to login to google cloud using link provided above. Soon as you log in click on left navigation bar as shown in below screen and find APIs & Services menu item.
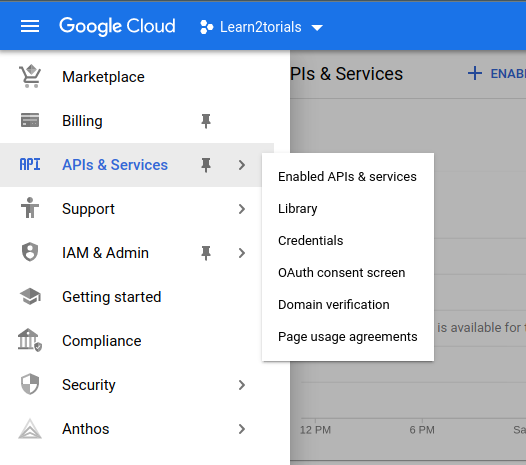
Step-2: Find API & Services menu item
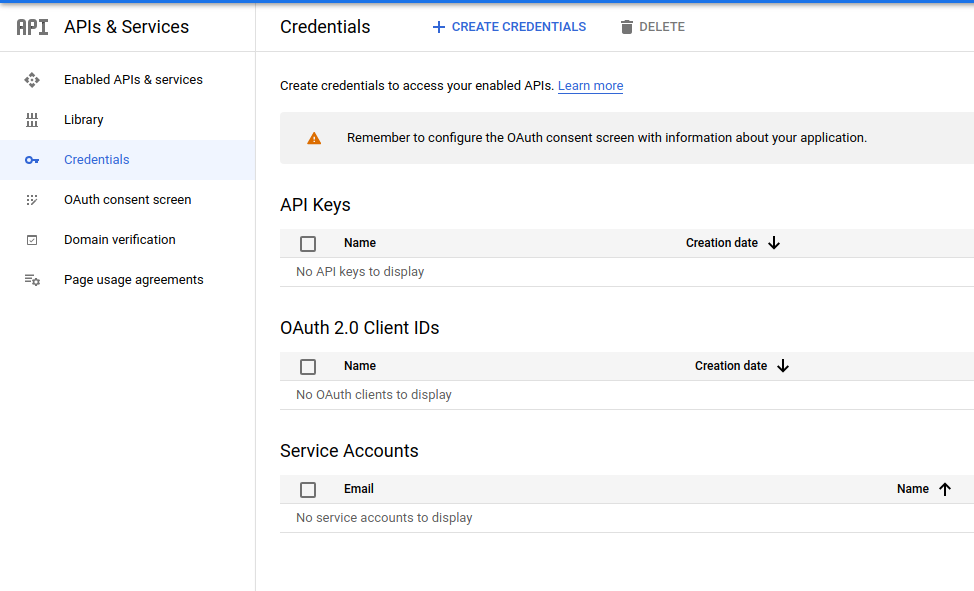
Once you find APIs & Services menu item click on credentials sub menu item. You will be brought to screen shown below:
Step-3: Configure Consent Screen
Next, click on CREATE CREDENTIALS button as shown below and than click on OAuth client ID.

Once you click on OAuth client ID for the first time it will ask you to configure the concent screen as shown below:

Click on Configure Concent Screen button and you will be brought to following screen:
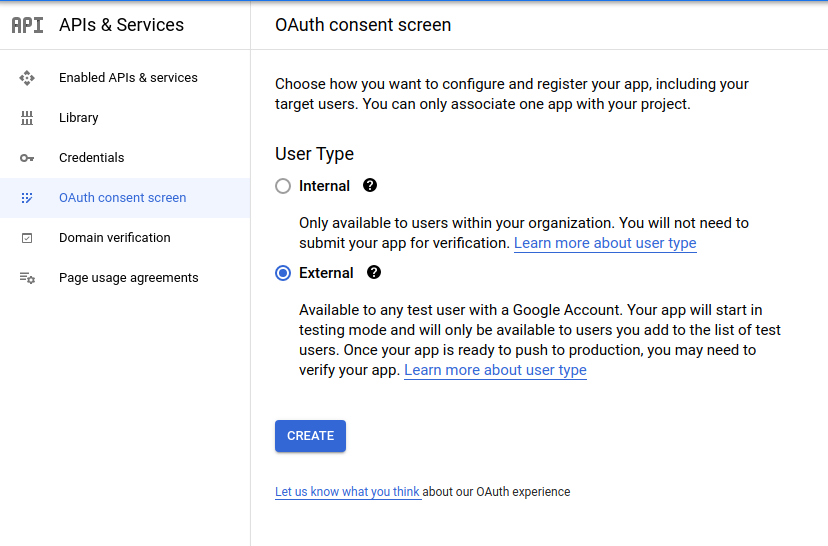
Click on External option so that all google user can use this application. Click on create button you will be brought to OAuth consent screen as shown below:
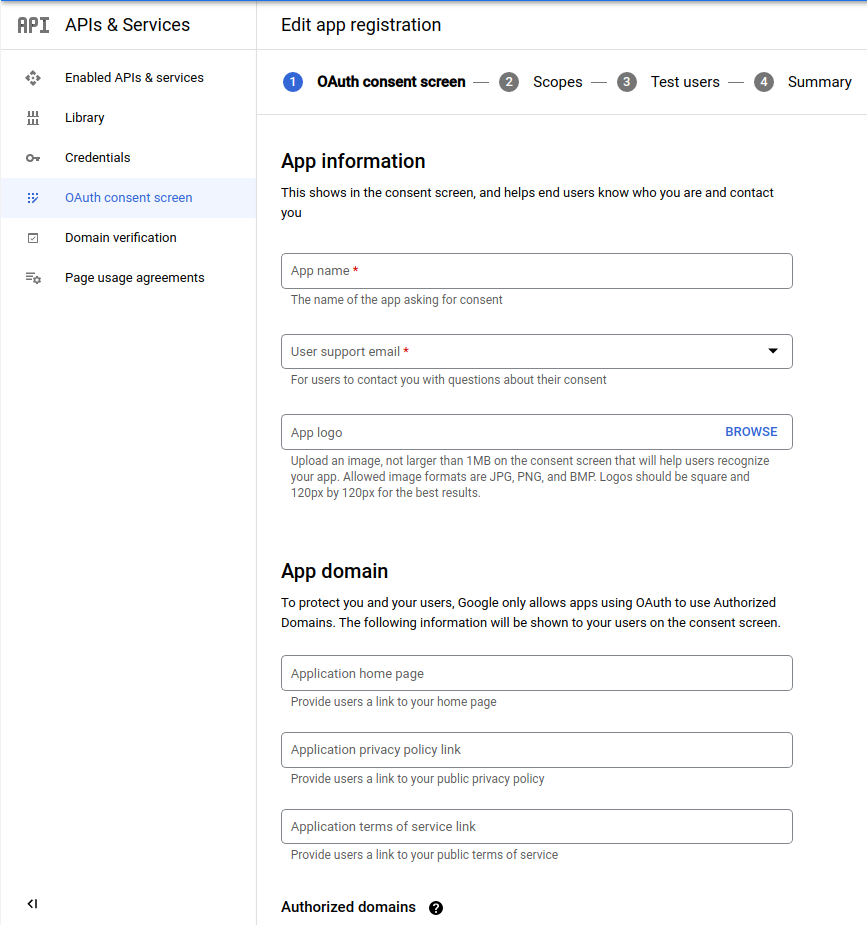
Fill out following important details in OAuth concent screen
- App Name
- User support email
- App Logo
- Application home page
- Application privacy policy link
- Application terms of service link
- Add your website url to Authorized domains
- Finally, add your developer contact email
Next, click on save and continue and it will take you to Scopes screen. Click on Add or remove scropes button and it will pop open screen on the right.
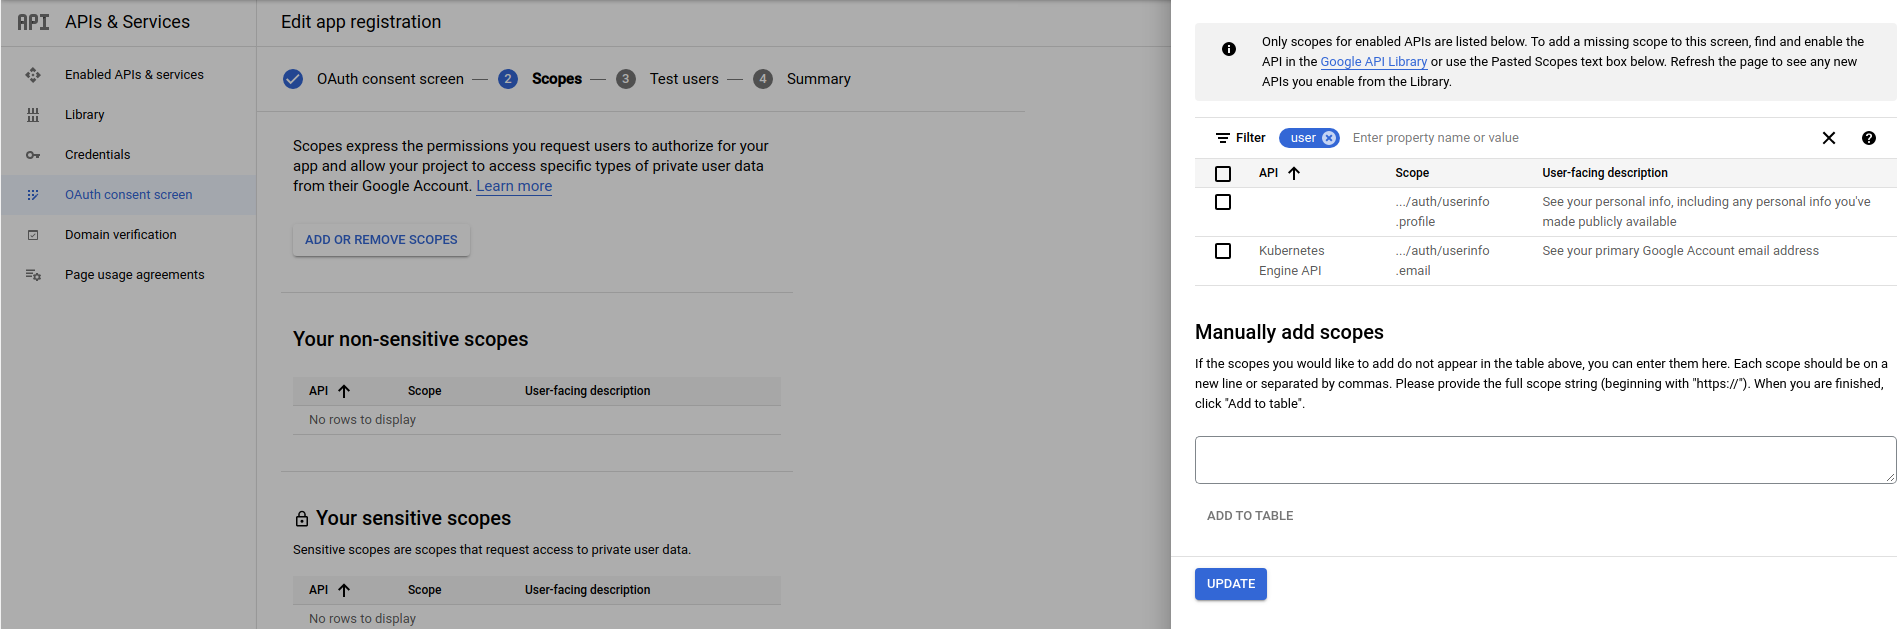
Search for user in the search box as shown below and add:
- /auth/userinfo.profile
- /auth/userinfo.email
select above scopes and hit update button. Click on save and continue button again. You will be taken to Test users screen as shown below: Click on Add users button.
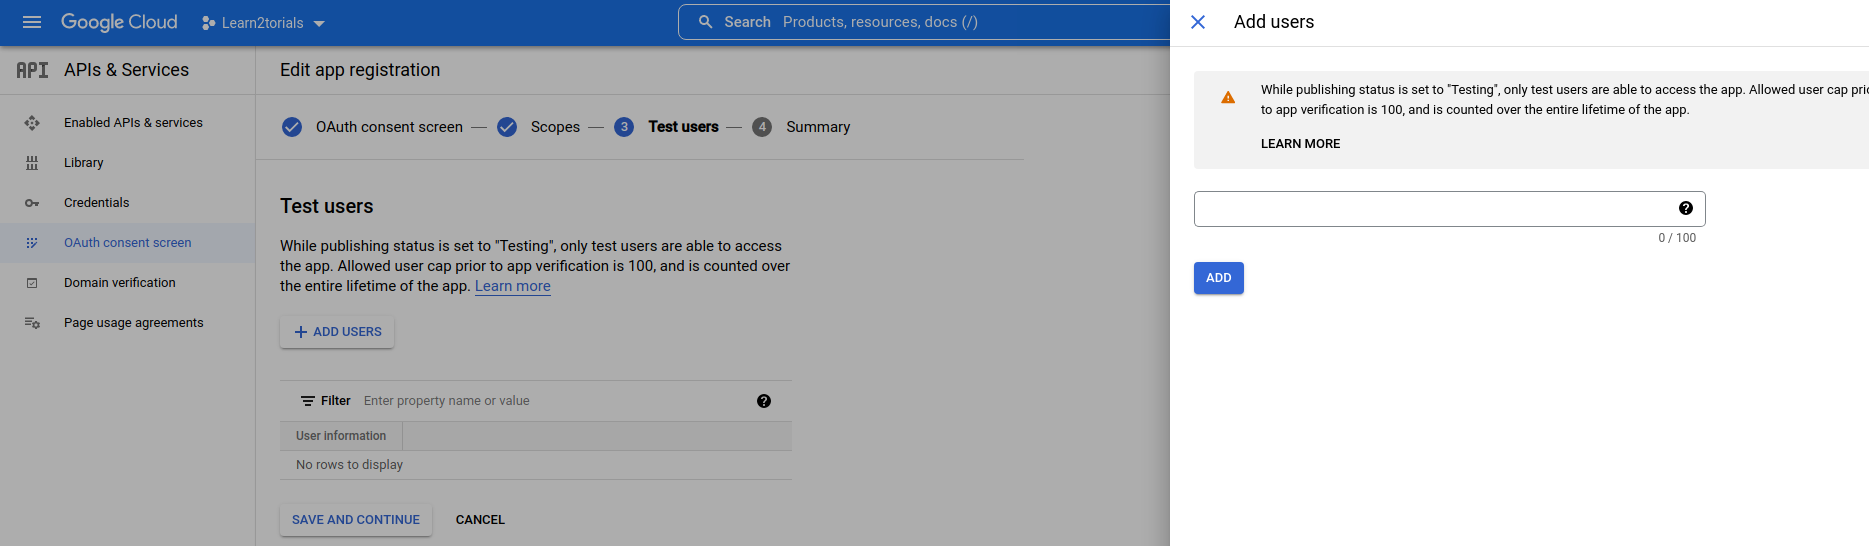
Add user email which you can use for testing purpose of your application. You will not be able to use any other user until your app is in testing mode.
Add email address and then click on save and continue button. It will present summary page of your application.
Verify the summary and click on back to dashboard button shown at the end of summary screen.
Step-4: Create OAuth client ID
Now, once you are back on dashboard screen click on credentials menu item and then click on create credentials button.
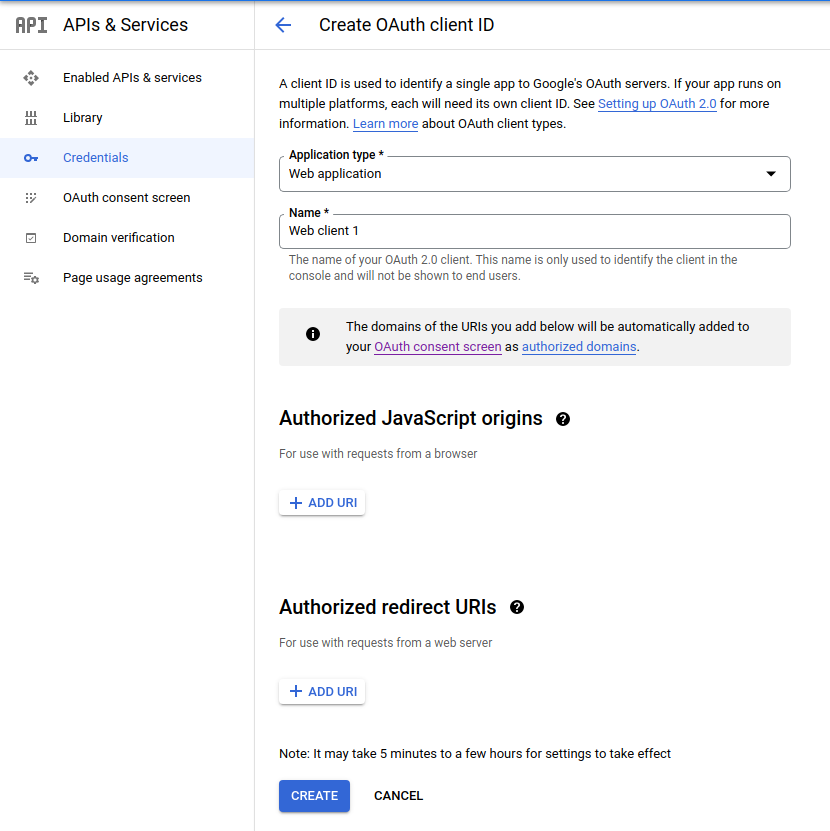
This time you will be brought to Create OAuth client ID screen as shown below. Select Web application in Application type dropdown menu provide name of your application and add authorized redirect URIs.
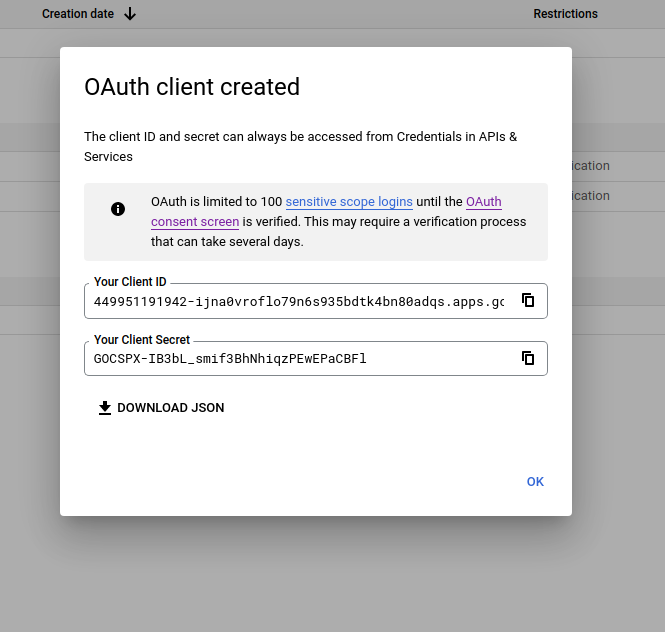
Once you click on create button it will present a popup with OAuth client information. It will contain following information:
- Your Client ID
- Your Client Secret
You can download json file because it wont give you this option again. Save it in secure place.
That's all I hope you like this tutorial. Do not share this credentials to anyone for security purpose.
I have deleted my credentilas I shown in above screen so it wont be useful to anyone trying to use my credentials.